GENERAL SETTINGS
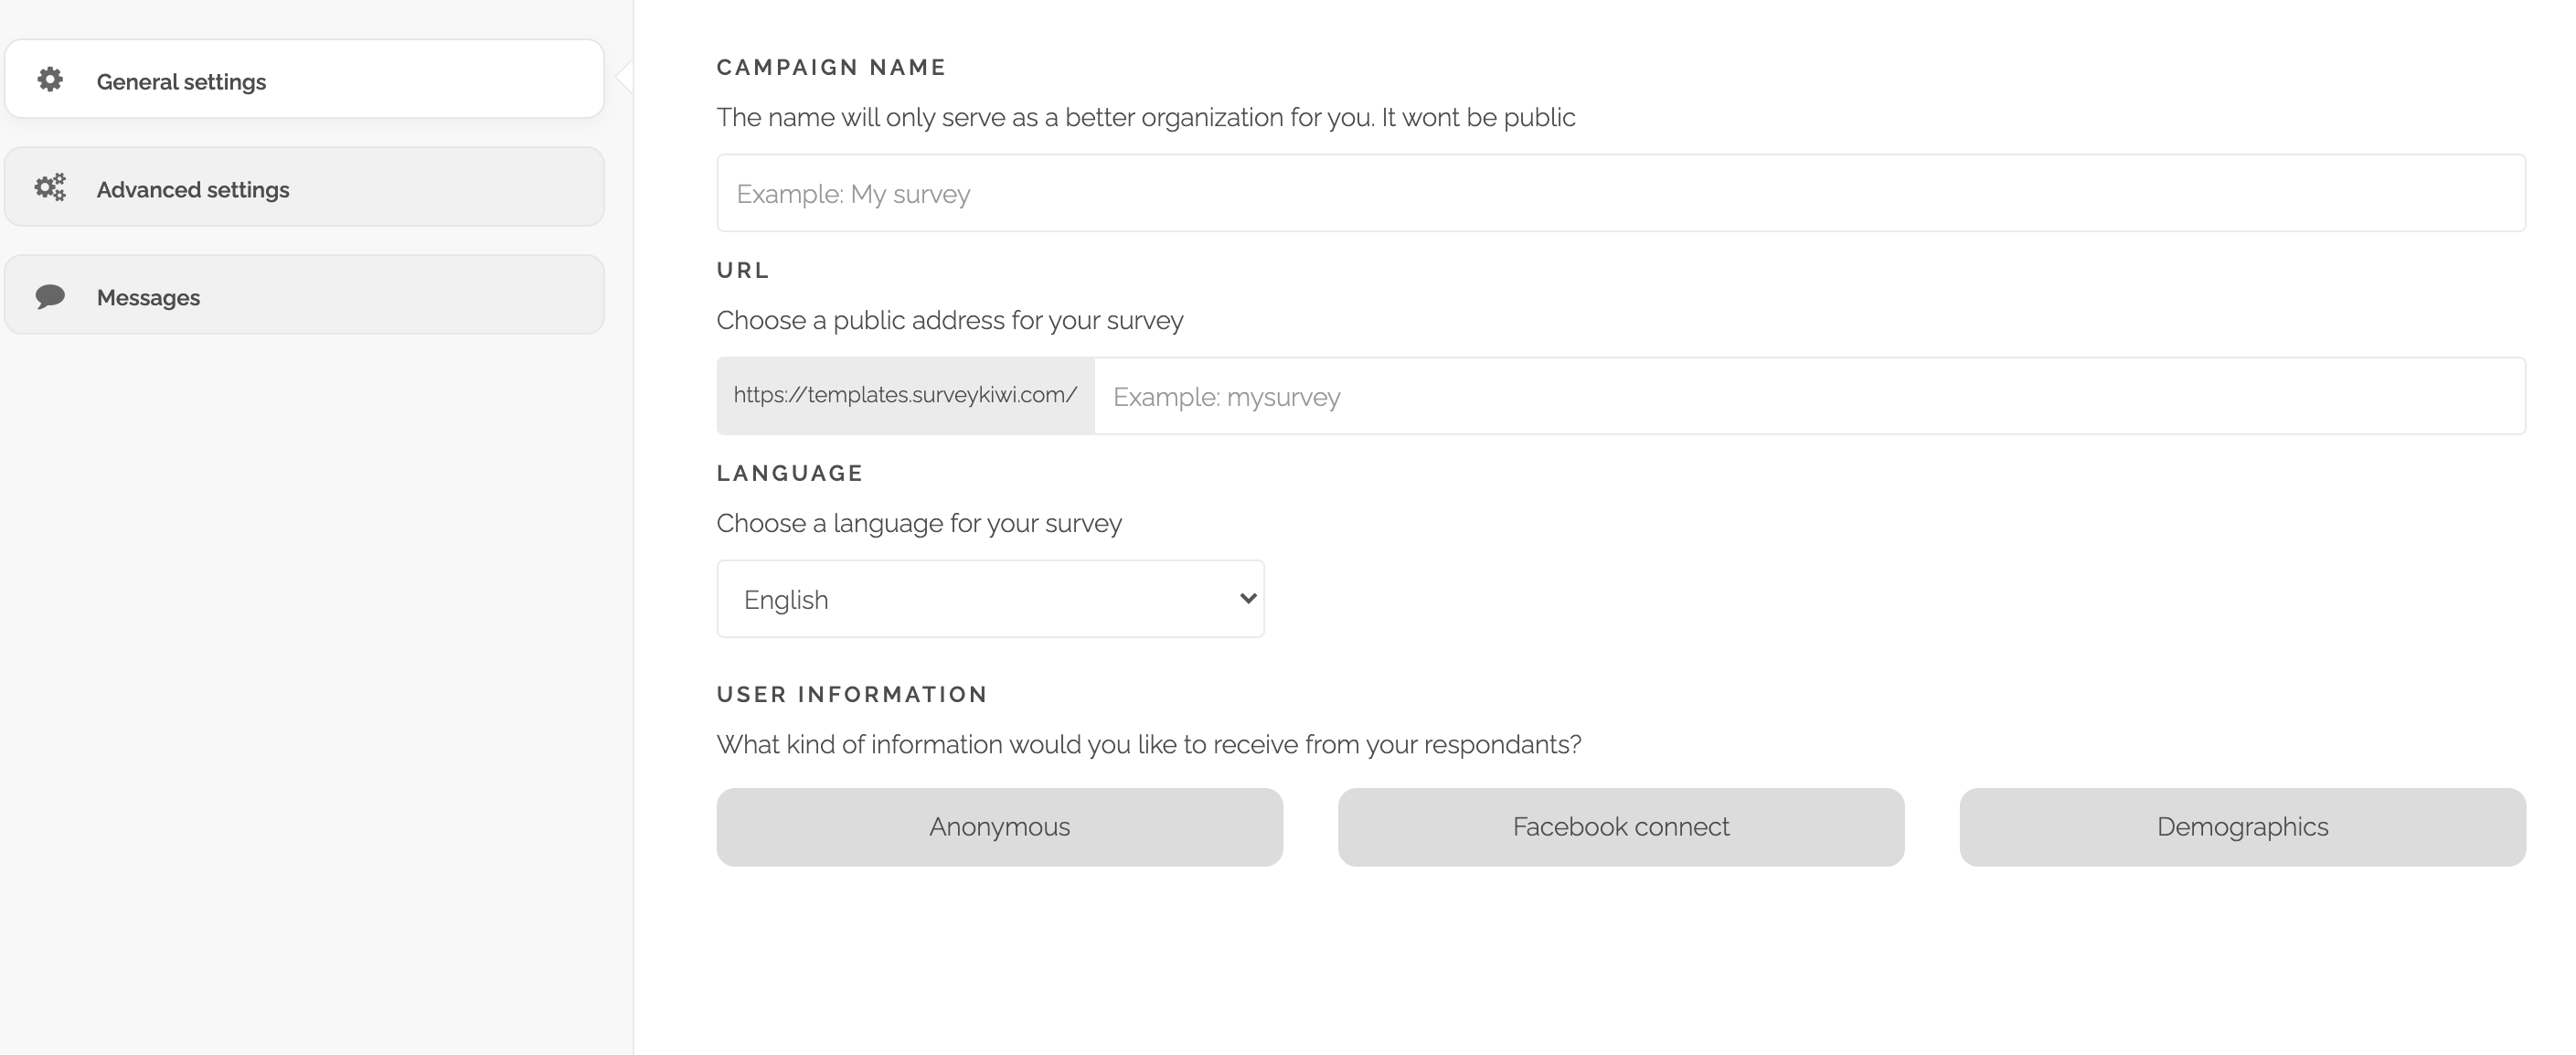
- Name of the project: The name of your project is helpful to ensure a better organization of your dashboard. The name will deviate in the URL that is used as public address of your campaign
- Language: Select the language of your survey. The options are Spanish, English and Portuguese, but remember, EVERYTHING is customizable.
- URL: Select the public address of your survey.
By default, a URL will be generated based on the name of the project: but you can modify it according to your preferences. One detail:
* Always use “safe” characters (letters, numbers, without punctuation marks, nor spaces or special characters).
- User information: Choose the information that you wish to collect from the users who are responding your campaign. This implies that the users must upload this information before they start answering the survey. This will allow for this information to be stored, regardless of whether the user finishes answering the survey or not. These options can be the following:
1. Anonymous: An anonymous survey can provide honest feedback. The respondent feels more comfortable to participate and express freely their thoughts.
This type of survey maintains personal information confidential, meaning that the user will not be asked to provide any previous information in order to answer the survey. By creating anonymous surveys, not only do you increase the response rate but also you improve precision and honesty of the comments received.
It’s important to clarify that despite selecting the “anonymous” option, it is still possible to ask user information such as email, name or contact information in the survey.
2. Demographics: It allows you to gather specific information from the respondent.
The user will have to mandatory enter this information in order to start answering the survey. In order to define this, you can select which fields do you want the users to respond.
The optional fields are: Email, name, surname, date of birth, gender, telephone, cellphone, civil status, document, country, state and city. Or you can add your own customized fields.
ADVANCED SETTINGS
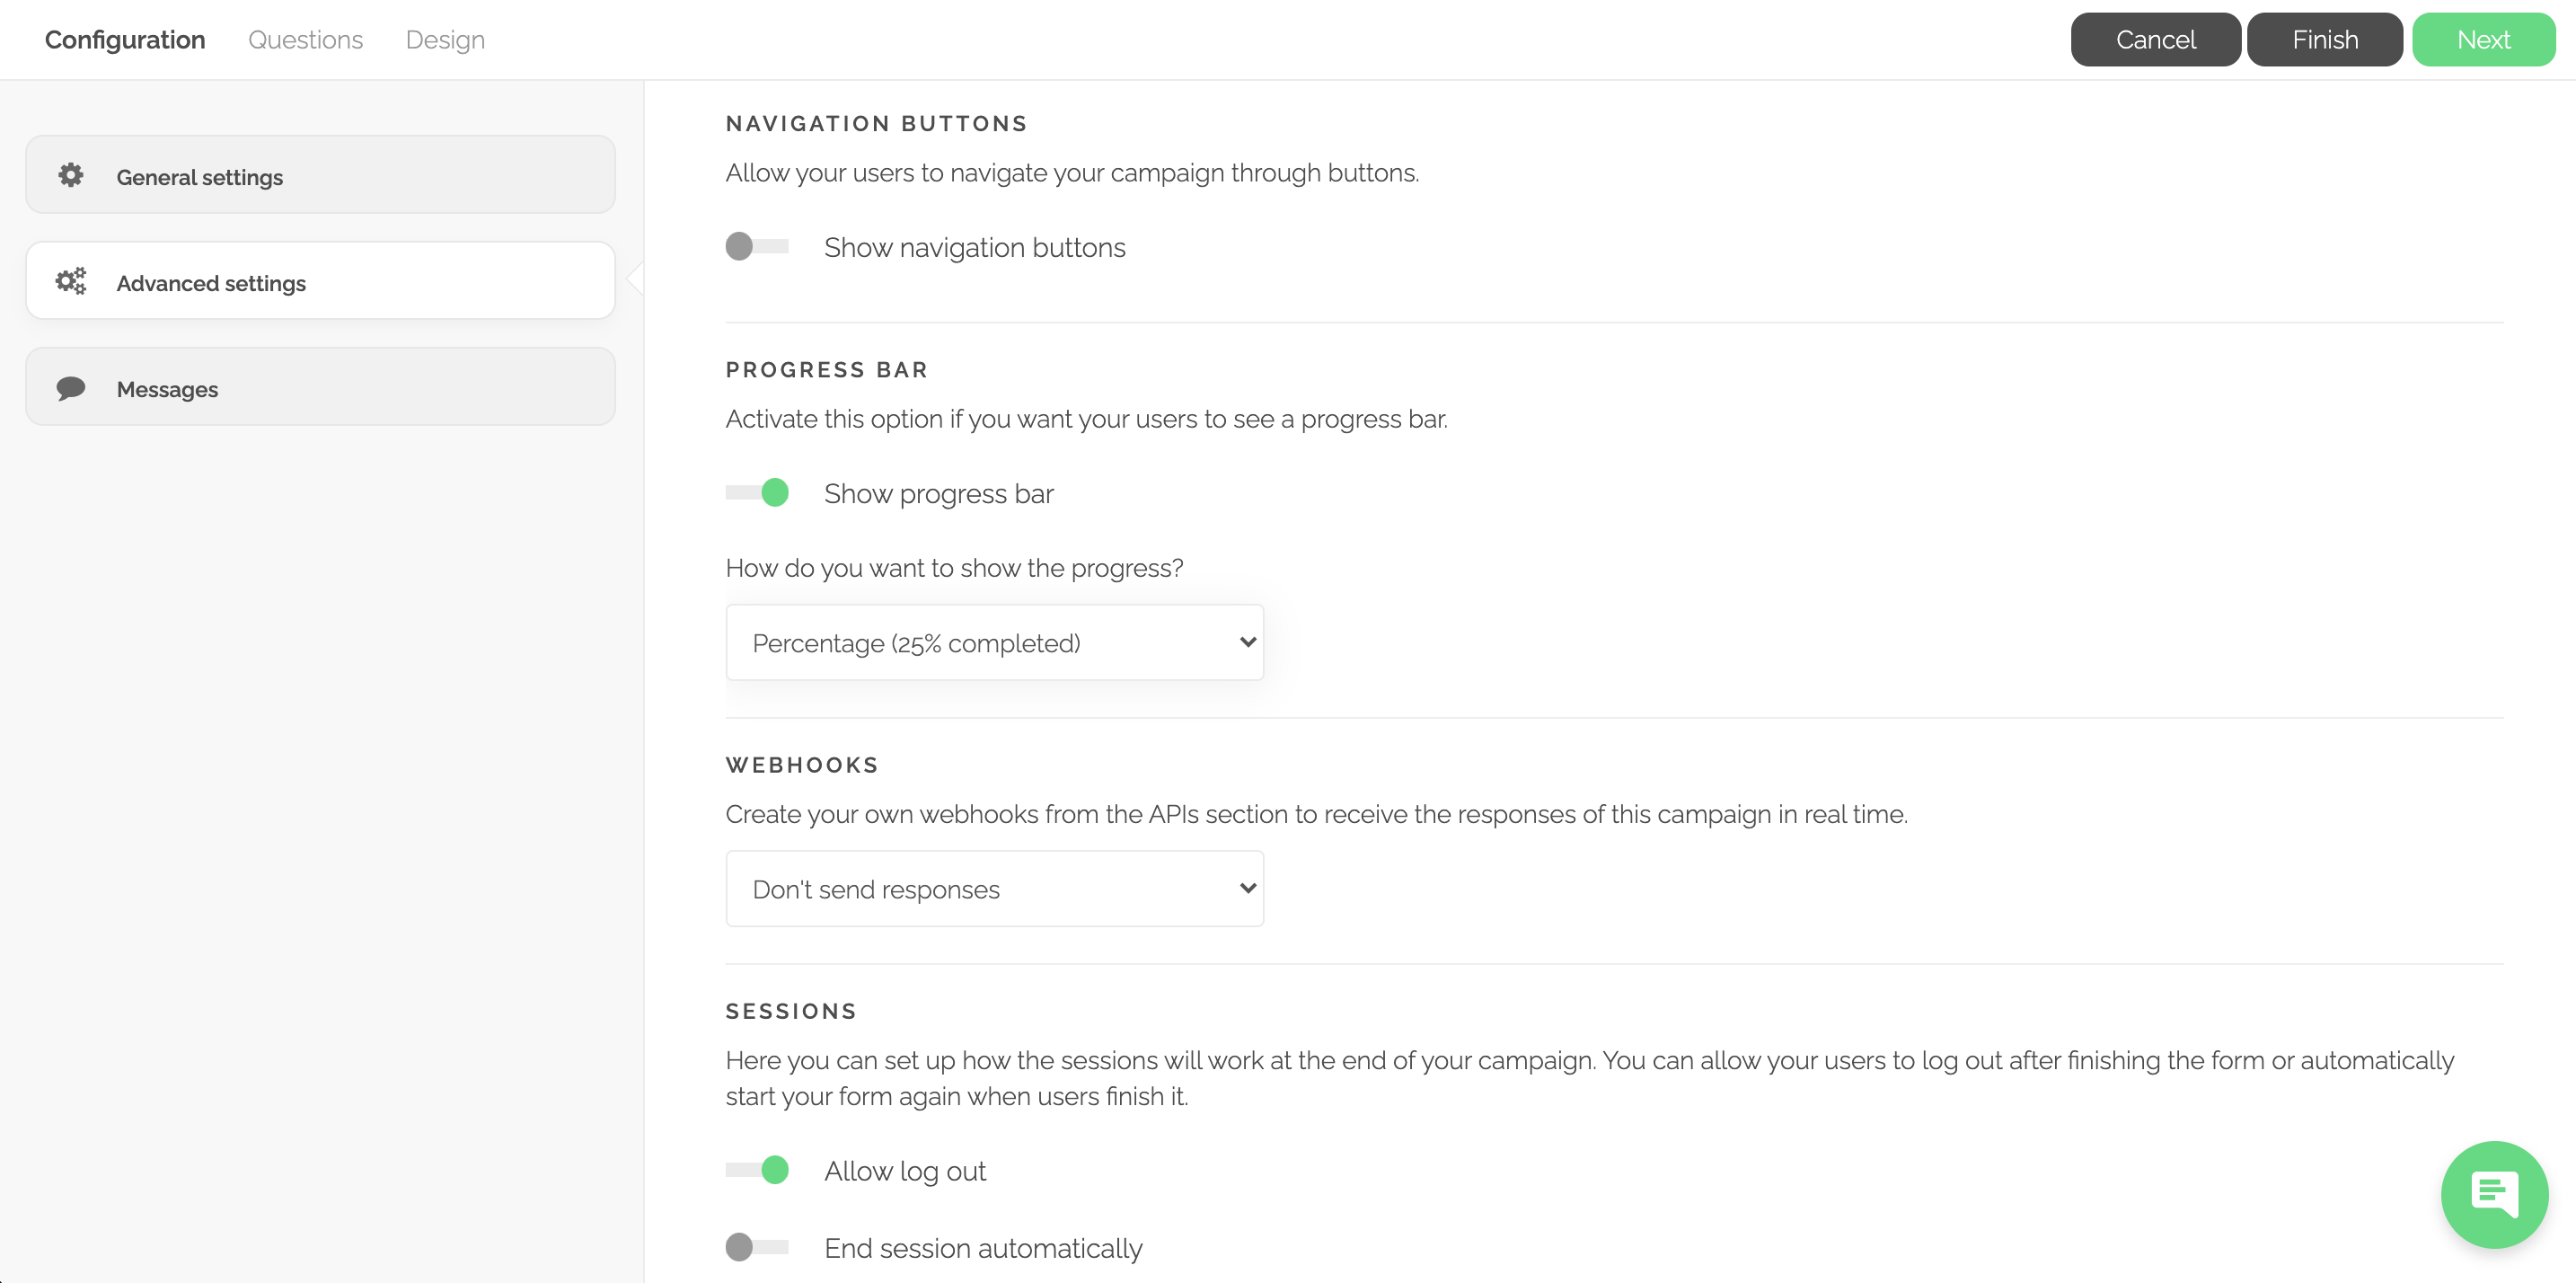
In this section you will find different optional features:
- Navigation buttons: You can activate this option to facilitate your user's navigation experience through your campaigns with arrow buttons.
- Show progress bar: If you activate this option, your users will be able to see in what question or step they are. You can show it in two different ways:
- Percentage: Shown as the percentage of campaign completed
- Proportion: Shown as the question in which the user is and the total of questions the campaign has. For example: Question 4 of 10
- Webhooks: Create your own webhooks from the APIs section in order to receive responses to this survey in real-time.
A Webhook is a system used by an app to send information in real-time to other apps. It sends information at the same time that it receives it, which means that it allows you to obtain information instantly.
- Sessions: You can activate or deactivate these different options in order to allow your users to answer your campaign again or to block them so they can't answer it again.
For example, if you want to create a survey and use it in a kiosk mode, you can activate both switches so each time a user answers it automatically end the session so new people can answer it again.
- Requirement: You can include a specific field through a code in order to activate the survey.
Example 1: A telephone company asks its users to start answering surveys but that they first need to enter their client number.
Example 2: A company of food products invites you to participate in a sweepstake involving the answering of a survey/quiz but requires you to first enter the code that appears printed on the package of the product.
In order for this to work, you have two options:
Import your codes: In order to upload your own codes, choose “Import Codes” and upload these through a CSV file.
Generate your codes: If you don’t have your codes, don’t worry, we generate them for you.
Select “Generate your codes” and choose how many codes you want and in which format (alphanumeric or only numbers) and download a list in .csv format with your new codes.
- Notifications: You can add different emails (Your own or other people) to each campaign so every time the campaigns receives an answer, an email will be sent automatically to these emails with the results embedded in the body of the email. So you don't need to log in to the account to see the information.