Once you create your account, the first thing you’ll find is the following screen, where you will be able to create your first campaign/ survey/ form/ quiz.
There are two ways to create a new campaign: you can start by creating it from scratch by accessing “Start from scratch”, where you’ll be able to upload all the information by yourself, or by using the preset templates by clicking on “Start from template.”

The simplest way to start working is with a template. You’ll have access to diverse campaigns previously created (organized by categories) so that you can explore and get inspired. Simply examine the options and seek the template that better suits your survey. You can pre-visualize each template by clicking on them and then choose the one that better suits your needs.
Once you have selected the template you want, you can start editing the same 3 steps of the creation to design your ideal campaign. You’ll be able to replace texts, images, eliminate questions that are inadequate or even include more if that is what you want.

If you want to create your survey from scratch without a template, you must select the option: “Start from scratch”. Having done this, you’ll be directed to the first step of the creation, the “Setting” of your campaign.
The 3 steps for creation are Configuration, Questions and Design. You’ll be able to see in the left top part of your screen in which section you are in.

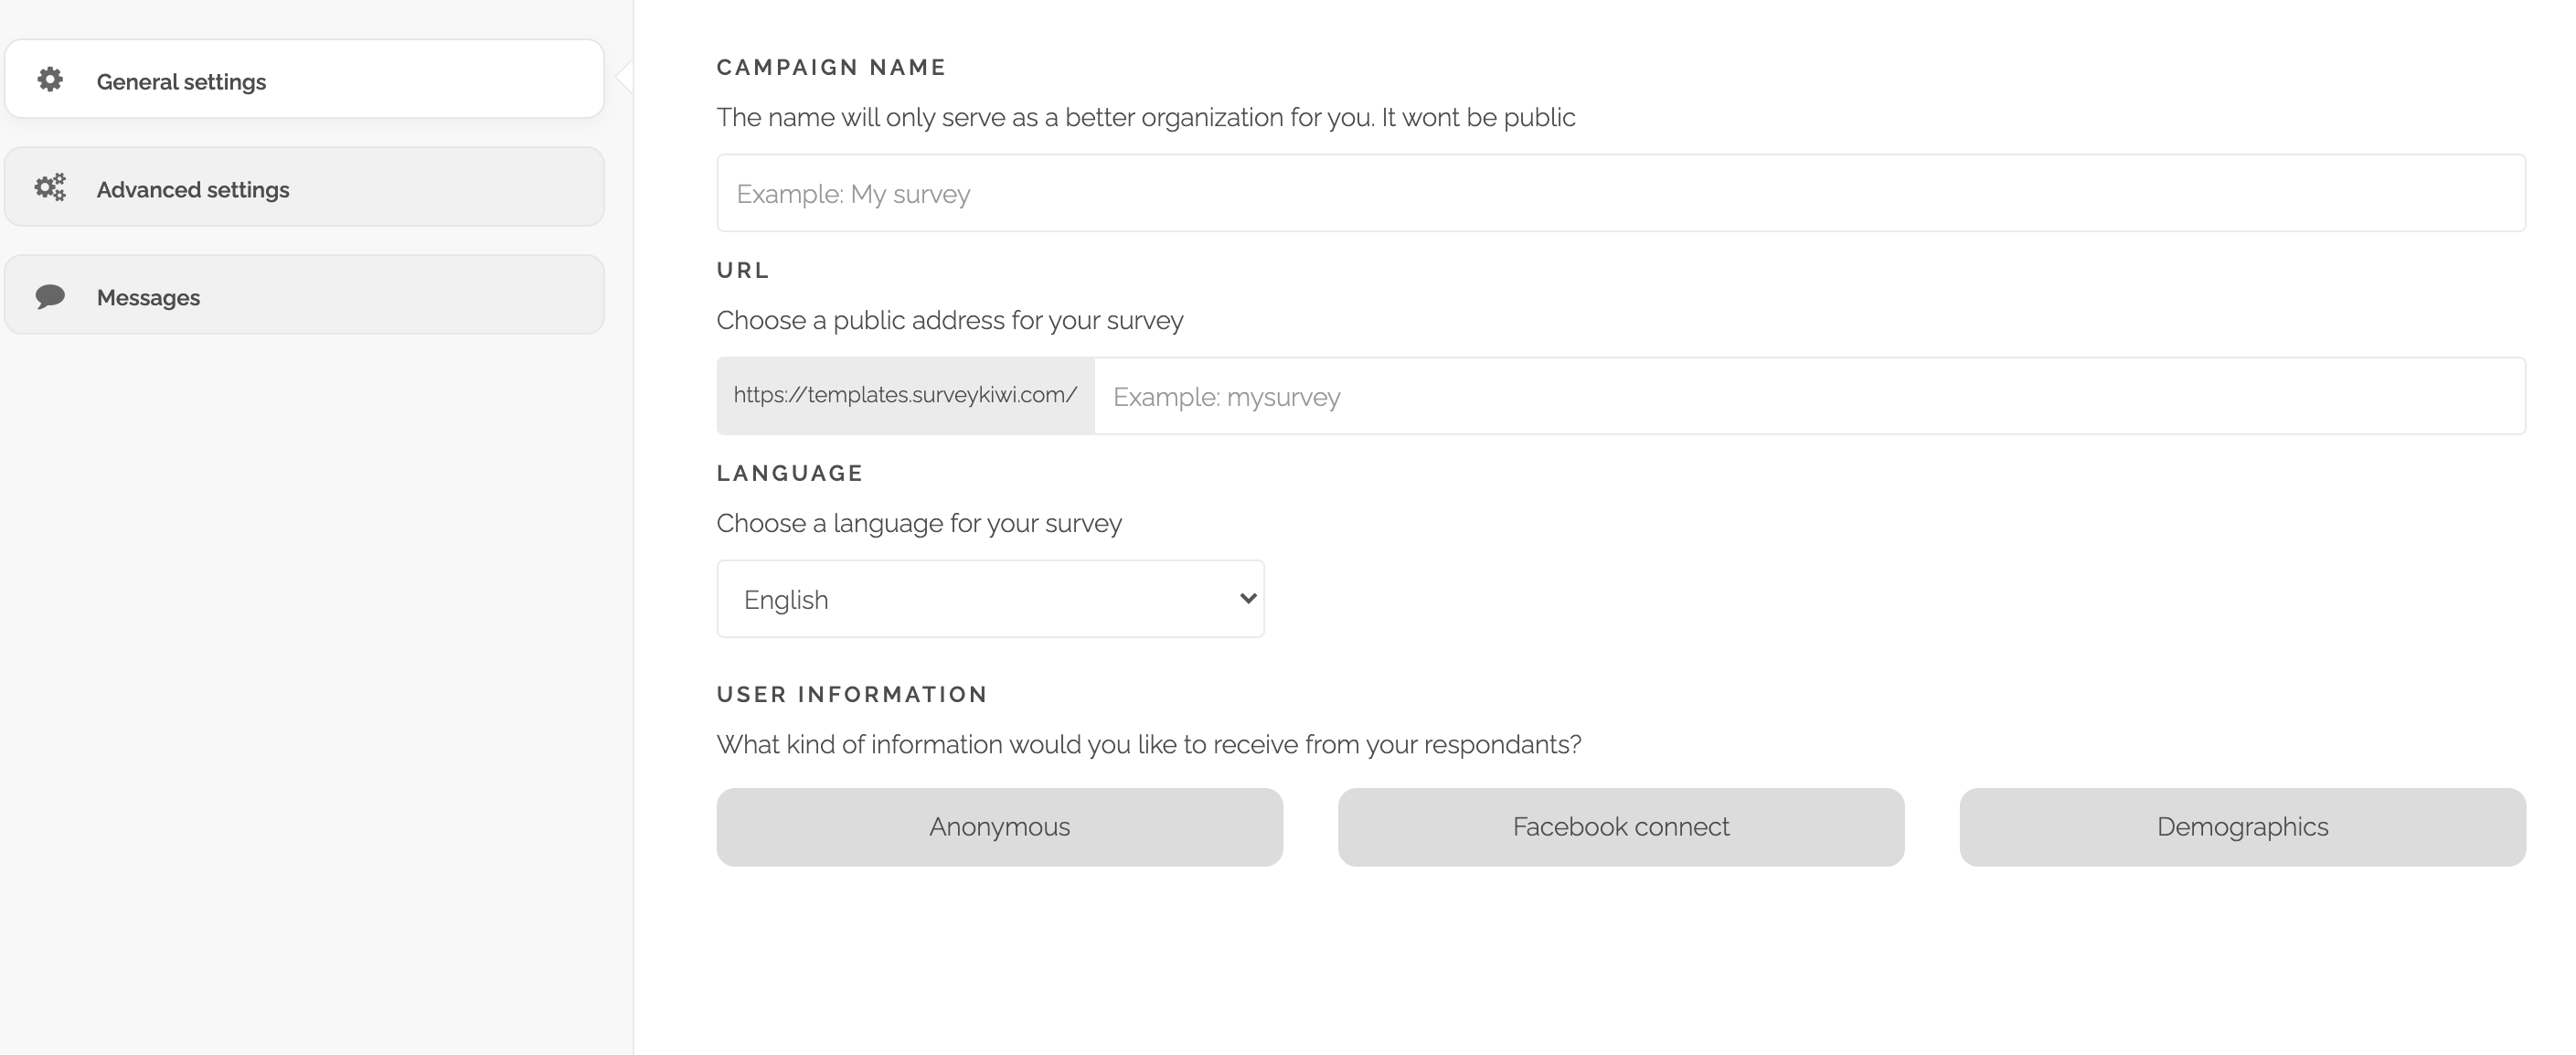
In the configuration step, you’ll be able to edit the general information of your campaign, the name to recognize your campaign, personalize the URL of your creation (premium feature) or the data that you want to collect from the user before they start answering your form
In the question section, you will find the “structure” of your form, here you'll be able to select all the questions you want, change texts, select images, assign logic jumps in your campaign and personalize the rest of your survey.
You can choose different types of questions and once selected, you can edit its content. Each question has different features and options and for each one, it is possible to upload images to make your form look more appealing.

In the design step, you can edit all visual aspects of your form, select a predefined theme, select the font you want, enlarge or reduce texts, change the colors of the elements, select an image as a background that adapts to your campaign or even previsualize in real-time how will your campaign look like on different devices.
This section is divided into 3 small sub-categories:
- Themes: Here you will find designs created by our own team. These designs have changes in fonts, colours, sizes and buttons. You can select each one and preview it in real-time -in the previsualization- what will be seen of your creation.
- Fonts: In this section, you will be able to edit the different fonts of your form and also change the colors of the texts and buttons.
- Background: Here you can select an image for the background of your survey and darken the colour of this image for it to contrast with the rest of your design. Advice: We always recommend using images through our integration with Unsplash.

After finishing the creation, a share panel will be displayed where you'll find the unique URL of your campaign that will allow you to share it with your users so that they can start responding or you’ll be able to previsualize it in order to check that everything is ready. Additionally, you’ll be able to analyze our different integrations in order to implement your campaign to different tools.

If you want to know more about each of the 3 steps or about every feature of Survey Kiwi, you can always visit each section in our Help Center.
Now is your turn, log in to your account to create beautiful surveys and make better decisions!